Using the MonoGame Content Pipeline
By Stephen Armstrong // November 8, 2019
Add fonts, textures, and other content to your game.
The MonoGame Pipeline Tool is where you add multimedia content to your game.
This content includes fonts, textures, and sound effects.
Opening the Content Pipeline
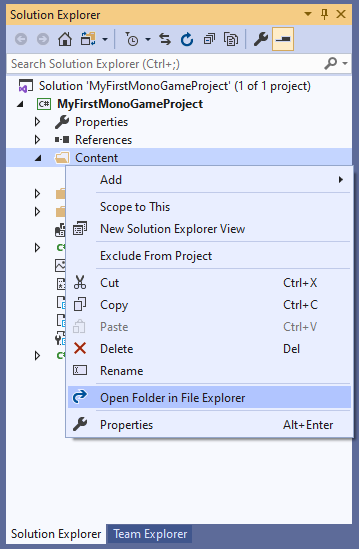
To access the Pipeline Tool, right click on the Content folder in your Solution Explorer and select Open Folder in File Explorer.
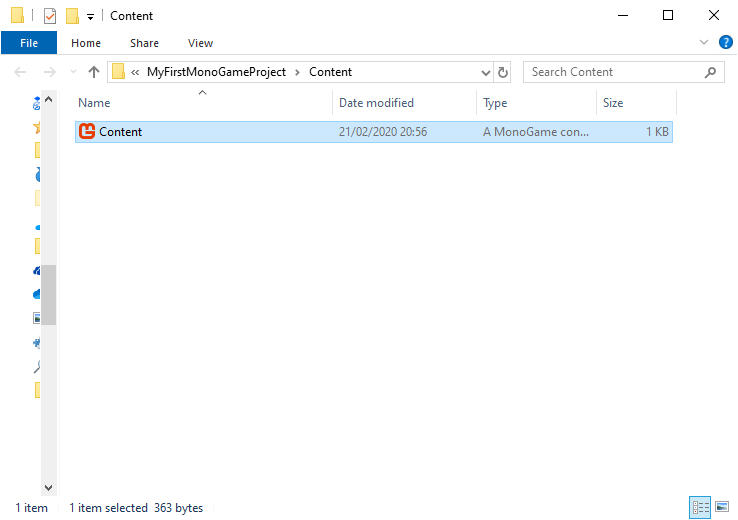
In the File Explorer window that opens, double click Content.mgcb.
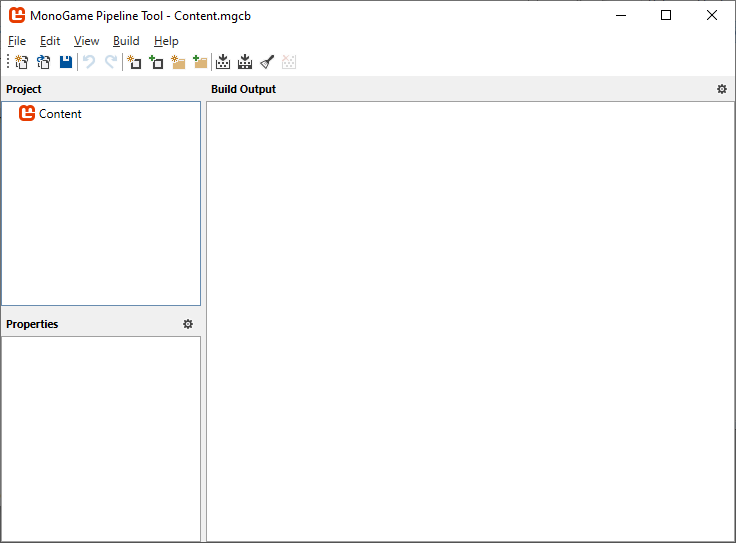
The MonoGame Pipeline Tool for your project will open.
Adding Items
Right click on Content and select Add. You will see there are options to add new and existing items/folders.
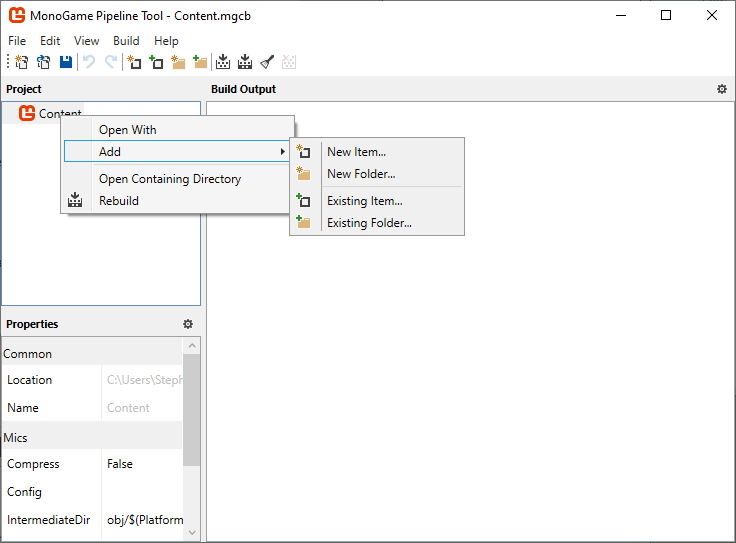
In this tutorial we will add a new SpriteFont and an existing Texture.
Adding a New SpriteFont
Right click on Content and select Add > New Item…
You will be prompted to enter a Name and select a Type. For this example, name the file ExampleFont, and select SpriteFont Description (.spritefont).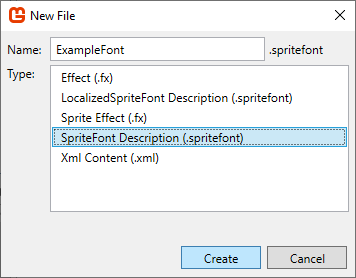
Click Create and the SpriteFont will be created and added to the content.
Adding an Existing Texture
Download the following image and save it to your game’s Content folder - /assets/img/example.png
Right click on Content and select Add > Existing Item…
You will now be prompted to add content to the game. Select example.png and click Open.
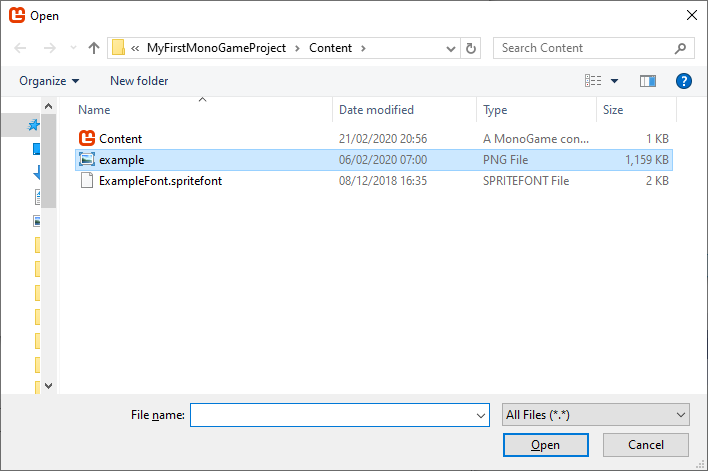
The texture will be added to the content.
Building Content
Content must be “built” before it can be used in your game. The build process will package textures, fonts, and other content into .xnb files that can be used by your game.
If you haven’t saved your changes, click File > Save.
To build the content, click Build > Build. This process can take some time depending on how many content items there are. In particular, SpriteFonts with lots of glyphs/characters will take a long time.
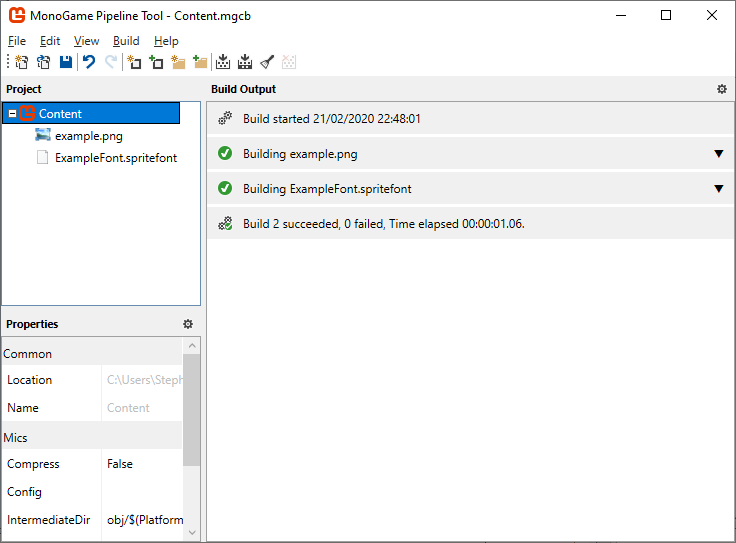
The Build Output part of the Pipeline Tool will now show the build progress. If there are any errors in a file then the build process for that file will fail.
Adding the Content to your Game
Now it’s time to add the SpriteFont and Texture2D to your game!
Close the MonoGame Pipeline Tool and return to Visual Studio.
Add a SpriteFont called exampleFont and a Texture2D called exampleTexture to Game1.
public class Game1 : Game
{
    GraphicsDeviceManager graphics;
    SpriteBatch spriteBatch;

    // A SpriteFont is used to display text on screen
    SpriteFont exampleFont;

    // A Texture2D is a sprite that can be used as characters, backgrounds, menu items, etc
    Texture2D exampleTexture;
Now the content must be loaded to your game.
Using LoadContent()
LoadContent() is where you will load all of the fonts, textures, sound effects, and other content for your game.
The default starting code is as follows:
protected override void LoadContent()
{
    // Create a new SpriteBatch, which can be used to draw textures.
    spriteBatch = new SpriteBatch(GraphicsDevice);

    // TODO: use this.Content to load your game content here
}
To load your SpriteFont and Texture2D, add the following to LoadContent()
// Load the spritefont from the file called "ExampleFont"
exampleFont = Content.Load<SpriteFont\>("ExampleFont");

// Load the texture from the file called "example"
exampleTexture = Content.Load<Texture2D\>("example");
Your content is now loaded and ready to use!
Example usage
To check the SpriteFont and Texture2D are loaded correctly, you can use them in the Draw() cycle.
Go to the Draw() in Game1.cs and add the following code (remember to Begin() and End() the spriteBatch!):
// Draw the texture so that it covers the full width and height of the screen
spriteBatch.Draw(exampleTexture, new Rectangle(0, 0, graphics.PreferredBackBufferWidth, graphics.PreferredBackBufferHeight), Color.White);
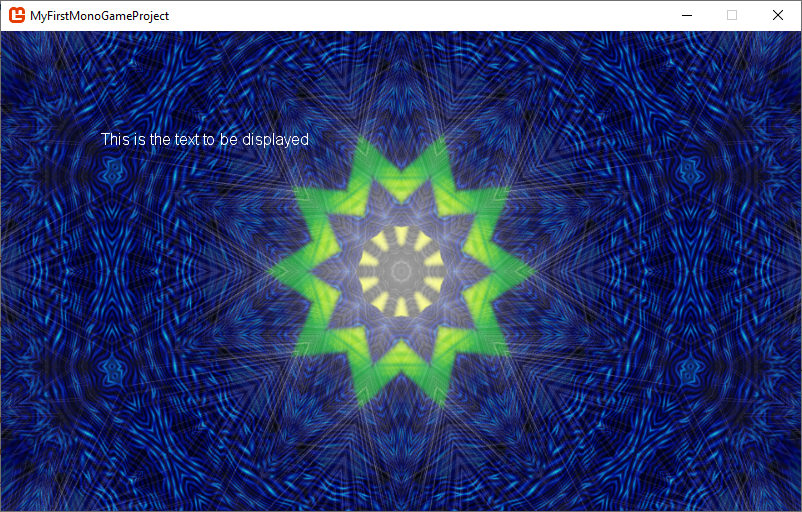
// Draw a string using the SpriteFont
spriteBatch.DrawString(exampleFont, "This is the text to be displayed", new Vector2(100, 100), Color.White);If you Start your game, you should now see the following screen:
Further reading
Future articles will explain more about using SpriteFonts, Texture2Ds, and other content.