MonoGame - Colors and Transparency
By Stephen Armstrong // February 6, 2020
How to apply different colors and transparencies.
In this tutorial we assume you have completed the following tutorial and added/loaded the Texture2D "charaset" to your project.
https://www.industrian.net/tutorials/texture2d-and-drawing-sprites/
The following C# code will show you how to use colors and transparency in a MonoGame project.
Colors are a core part of MonoGame. Their primary purpose is to add a tint to textures you draw to the screen, but they also have other uses.
MonoGame features several built-in choices for colors. When you go to create a color, you should see the following suggestions:
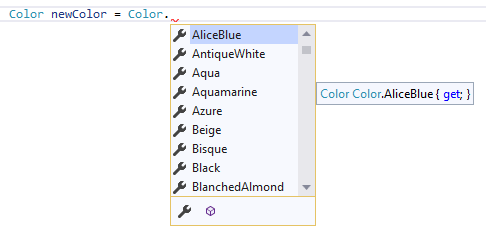
A full list of these default color choices can be found here (thanks, Brandon!) : http://www.foszor.com/blog/xna-color-chart/
You can also create your own color by using RGB values, see the below code for an example:
// Create a new color by setting red, green, and blue values.
byte redValue = 200;
byte greenValue = 100;
byte blueValue = 50;
Color exampleColor = new Color(redValue, greenValue, blueValue);
This code creates the color this sentence uses.
Drawing a Sprite with a Tint
By default you should draw a sprite with Color.White. This will display the sprite as-is with no color tinting.
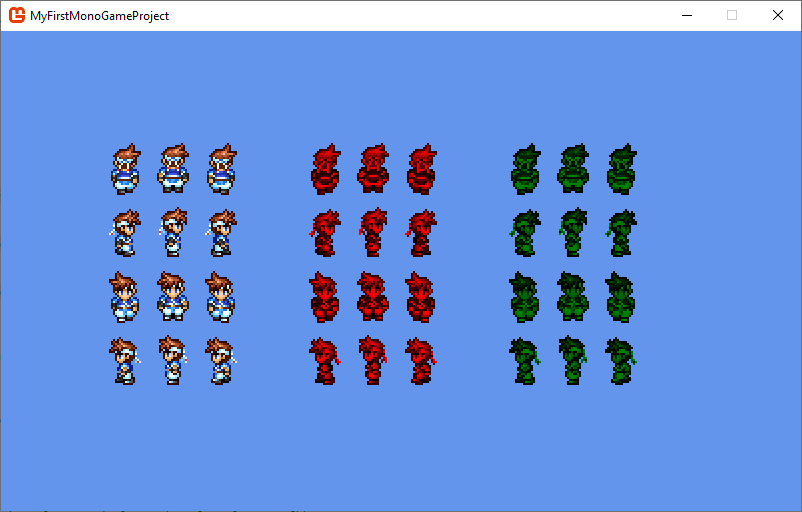
Go to Game1’s Draw() and use the below code to draw three sprites. One with no tinting, and two with a tint:
// Draw the charaset with no tint.
spriteBatch.Draw(charaset, new Vector2(100, 100), Color.White);

// Draw the charaset with a Red tint.
spriteBatch.Draw(charaset, new Vector2(300, 100), Color.Red);

// Draw the charaset with a Green tint.
spriteBatch.Draw(charaset, new Vector2(500, 100), Color.Green);
Run the code to see the following:
Transparencies
You can modify the transparency of a sprite by multiplying its color by a float between 0 and 1.
Modify the previous code to include the following multiplication next to the color:
// Draw the charaset with no tint.
spriteBatch.Draw(charaset, new Vector2(100, 100), Color.White * 0.1f);

// Draw the charaset with a Red tint.
spriteBatch.Draw(charaset, new Vector2(300, 100), Color.Red * 0.5f);

// Draw the charaset with a Green tint.
spriteBatch.Draw(charaset, new Vector2(500, 100), Color.Green * 1);
If you run the code now, you will see the following:
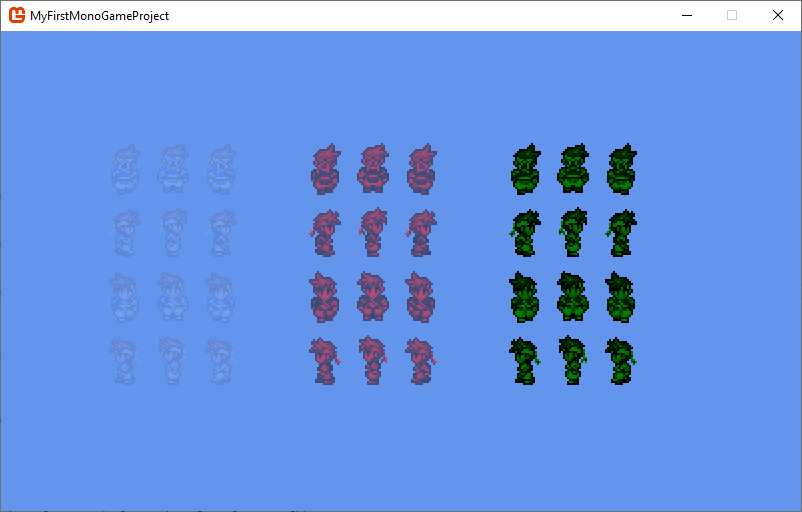
As you can see, the charaset on the left is almost invisible (multiplied by 0.1), the middle charaset is half-invisible (multiplied by 0.5), and the right charaset has zero transparency (multiplied by 1).
Updating Color and Transparency
Being able to tint or make a sprite transparent during gameplay can add visual cues to a player/enemy status – for example, you can turn them green if they’re poisoned, red if they’re on fire, or make them blink if they’ve just taken damage.
To add control over the Color and Transparency, add a new Color and float to Game1 as below:
// The color to display the charaset.
Color displayColor;

// The transparency to display the charaset.
float displayTransparency;
Now go to LoadContent() and set their initial values:
// Set the initial display color to have no tint.
displayColor = Color.White;

// Set the initial transparency to 50%.
displayTransparency = 0.5f;
Now go to the Update() cycle and add the following:
// Press/Hold the Page Up key to increase opacity.
if (Keyboard.GetState().IsKeyDown(Keys.PageUp))
{
    // Only increase opacity if it is not already at maximum.
    if (displayTransparency < 1)
    {
        displayTransparency += 0.01f;
        System.Console.WriteLine("New transparency value: {0}", displayTransparency);
    }
}

// Press/Hold the Page Down key to increase transparency.
if (Keyboard.GetState().IsKeyDown(Keys.PageDown))
{
    // Only increase transparency if it is not already at maximum.
    if (displayTransparency > 0.02f)
    {
        displayTransparency -= 0.01f;
        System.Console.WriteLine("New transparency value: {0}", displayTransparency);
    }
}

// Change the color to Color.White.
if (Keyboard.GetState().IsKeyDown(Keys.F1))
{
    displayColor = Color.White;
    System.Console.WriteLine("New display color: {0}", displayColor);
}

// Change the color to Color.Red.
if (Keyboard.GetState().IsKeyDown(Keys.F2))
{
    displayColor = Color.Red;
    System.Console.WriteLine("New display color: {0}", displayColor);
}

// Change the color to Color.Green.
if (Keyboard.GetState().IsKeyDown(Keys.F3))
{
    displayColor = Color.Green;
    System.Console.WriteLine("New display color: {0}", displayColor);
}

// Change the color to Color.Blue.
if (Keyboard.GetState().IsKeyDown(Keys.F4))
{
    displayColor = Color.Blue;
    System.Console.WriteLine("New display color: {0}", displayColor);
}
And finally, use the following in your Draw() cycle:
// Draw the charaset with a defined displayColor and displayTransparency
spriteBatch.Draw(charaset, new Vector2(100,100), displayColor * displayTransparency);
If you run the code now, use the PageUp and PageDown keys to modify the transparency value, and push F1 - F4 to change colors.
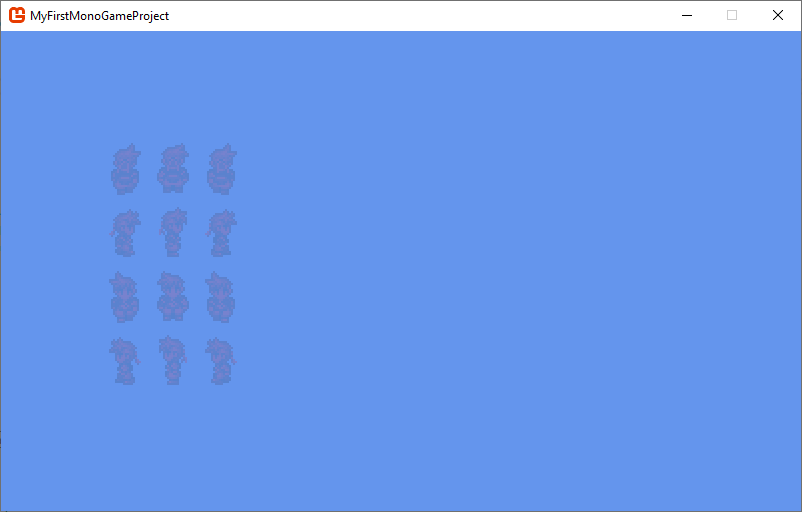
The transparency and color changes will also be displayed in the Output.
Further reading
Future articles will include other tips and tricks you can carry out with colors and transparencies.